 Problems With Printed Packaging Artwork
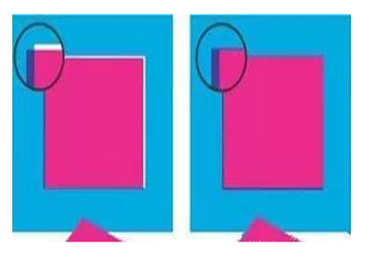
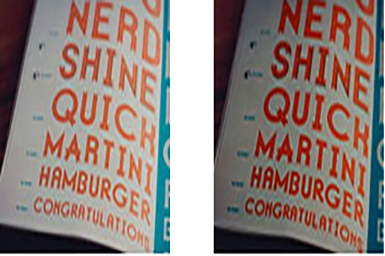
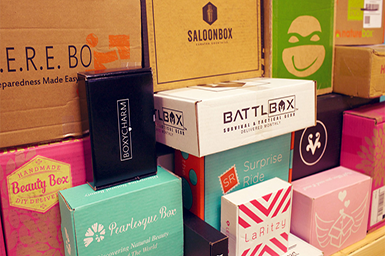
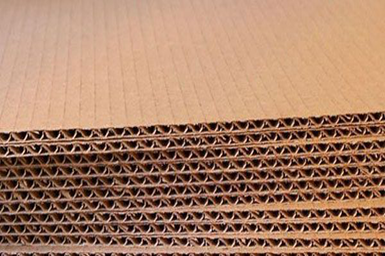
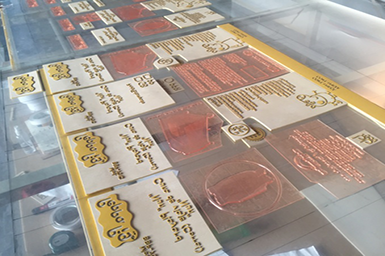
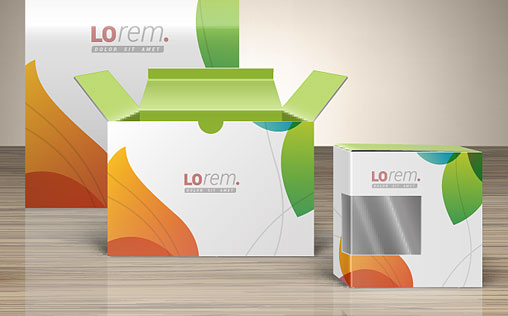
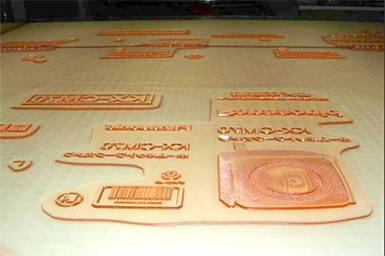
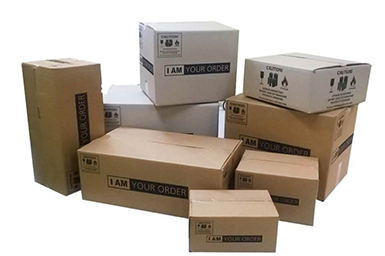
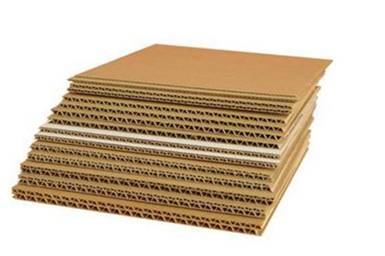
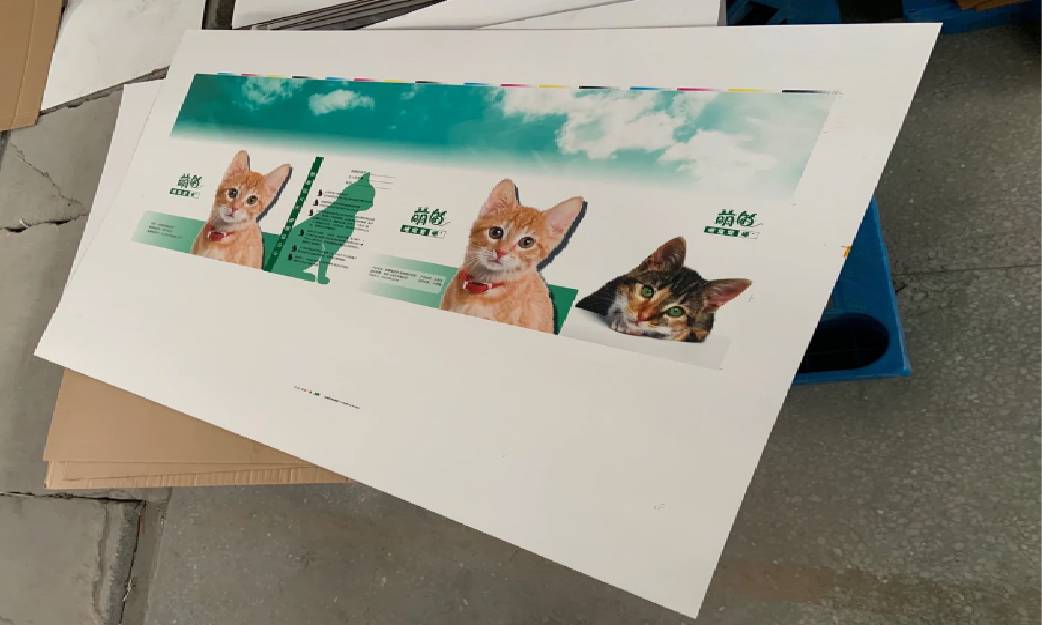
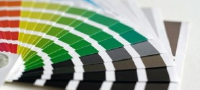
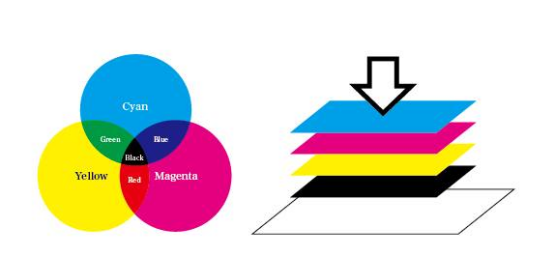
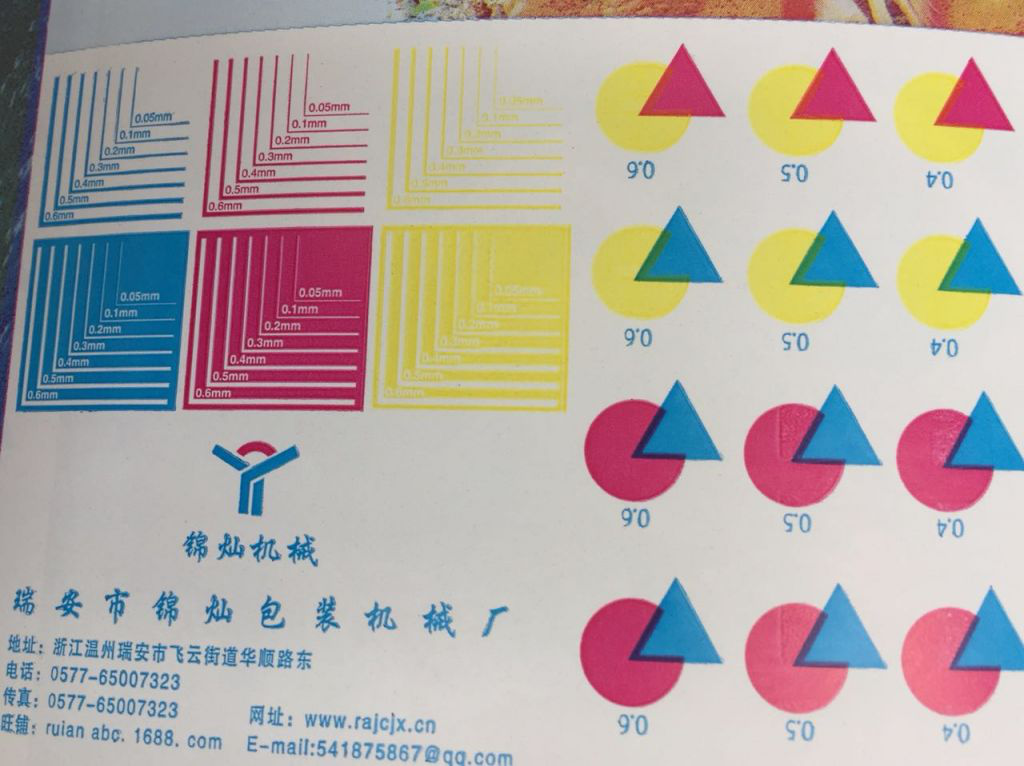
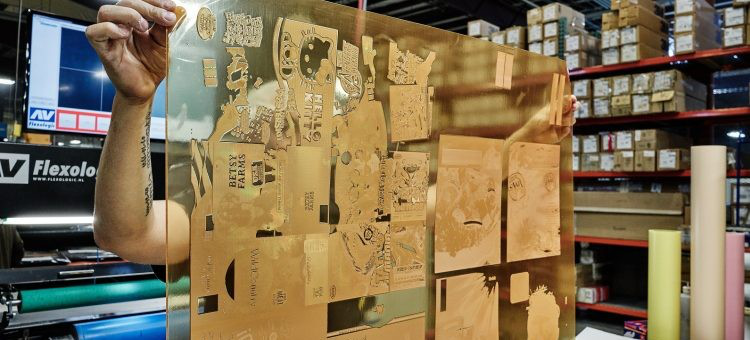
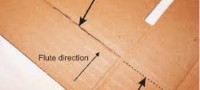
How to avoid making critical mistakes on your packaging artworkPackaging artwork mistakes can not only be embarrassing, but can cost your business significant amounts of money too.This guide highlights 10 of the most common errors people make when producing their print files for corrugated packaging. And how you can avoid making the same mistakes yourself. It covers:Using fonts and images correctlySoftware problemsHow colours can affect your resultsMuch else besidesAlternatively, please continue scrolling to download a free step by step guide on setting up your artwork in the correct manner.IntroductionMistakes with printed packagingAlthough large multi-national brands will usually have an extensive, in house team of brand and graphic design experts (or be working with top design agencies), mistakes can still slip through.And whilst the worst of these can cause much hilarity on social media, they tend to be highlighted on high volume, consumer facing packaging.But what about transit packaging? And businesses that may not have the resources or budget to employ or hire dedicated art-workers? Graphics and branding is just as important in these scenarios too, right?Well, yes. But unsurprisingly, mistakes can happen here too.This guide highlights the top 10 packaging artwork mistakes that can harm your business – and what you can do to avoid them.What are the costs of making artwork mistakes on packaging?Getting your packaging artwork wrong can have a number of significant, negative impacts on your business.For starters there are the cost implications.Get the artwork wrong initially and, if not spotted in time, you will potentially have stock of boxes that are no longer usable. Besides the costs of these, your investment in printing plates will also become worthless. New ones will need to be purchased.But aside from this, there are other potential issues.For example, not having the required packaging in place could mean a delay to getting products shipped out or launched. It could stop production lines (at great expense). Mean letting your stockists and customers down. Harming repeat business.It could allow your competition to gain market share whilst you are not visible.Perhaps even worse, if incorrect packaging is distributed without the errors being spotted, it could result in negative exposure and coverage for your brand.At the very least, it will make you look unprofessional and amateurish, harming your brand perception. Top 10 Artwork Mistakes.The top 10 mistakes businesses make when setting up packaging artworkLuckily, a lot packaging artwork mistakes can be spotted and resolved before production. And whilst this is not always possible, a switched on packaging manufacturer should be able to identify, and help your resolve, any issues before it is too late.So, without further delay, here are the most commonly seen errors when creating artwork files for ecommerce or transitNot “flipping” the cutter guide (die-line)Not using vectorsUsing low resolution imagesUsing RGB colour space instead of CMYK / PantoneIncluding fonts which are too allNot outlining fontsNot including bleedsUsing a heavy (or weak) blackIgnoring safe margins / white spaceUsing Microsoft programmesNot proof reading before sending to printContinue reading below for further explanation on why these can cause such a problem, and how to make sure this doesn’t affect your business. 01: Artwork Orientation.Not “flipping” the cutter guide (die-line)It is obviously a sensible idea to use your packaging manufacturers cutter guide (also referred to as a die-line) when creating your artwork. But this is a potential banana skin.Structural drawings of your boxes will show the inside view, as this allows for the relevant crease lines to be added.But if you lay your artwork onto this, the text and graphics will not appear in the correct place when printed onto the outside of the box (this is obviously OK if you want the inside printed, as per some ecommerce packs).This typically means logos, text and graphics do not line up correctly / as intended on the relevant faces of the box.The easy solution to this? Simply select the cutter guide within your editing software and flip the drawing from left to right (in Adobe Illustrator for example you can do this by going to Object > Transform > Reflect).If in doubt, always check with your packaging supplier. They most likely will be able to supply the cutter guide in the correct orientation for you.02: Vector GraphicsUsing raster file types instead of vectors.If you start talking about vectors and raster files to average person they won’t have the foggiest what you are on about.But in simple terms, raster files (also referred to as bitmaps) are images made up from pixels (tiny dots).These are used for full colour graphics and photographs due to the level of detail that can be achieved. Common formats include .jpeg, .tiff and .png.Vectors on the other hand, are effectively mathematical formulae, which store the lines, shapes and colours that make up an image. These are often saved as .ai, .eps and .pdf files, and are also used for fonts.So how can using one rather than the other cause problems?Well, a vector, being a mathematical formula, can in effect be scaled to any size without losing quality – which is important if you are placing your company logo on the side of a large box or transit packaging.If you are using a raster image, and scaling this up to a large size, the number of dots / pixels does not increase, they just get larger.This results in fuzzy edges and lack of definition, or, even worse, a pixellated appearance. This makes the appearance of your packaging less professional and impactful.So, as a general rule of thumb, use vector files for icons, logos and bold single colour graphics wherever possible. This will give a clean, crisp finish regardless of the printing method you are using for your packaging. 03: Resolution.You don’t know how much packaging you have (or use).Despite the need to use vectors wherever possible, the key limitation of these is not being able to easily reproduce photographic quality or highly detailed imagery.This is why on luxury packaging, packs for many FMCG products and retail items in general, raster images will be used. They lend themselves particularly well to high volume lithographic or digital printing.The problem occurs when images used are of too low a resolution.As mentioned above, raster files are made up of a numerous pixels. The specific amount contained within on inch is the images resolution. In order to be printed successfully (i.e. not look fuzzy or pixelated), the image needs to be a minimum of 300 dpi (dots per inch).The problem of using an image below this resolution (such as those downloaded from the internet, which are typically 72dpi to suit monitors / screens) is a fuzzy, low quality appearance with no definition.This equally applies to a 300 dpi image which is “blown up” to double its size, effectively halving in resolution (to 150 dpi).As such, it is important to use high resolution photography at the correct size. 04: RGB Graphics.Using RGB colour space instead of CMYK / PantoneAnother issue of downloading images from the internet for use on your packaging (alongside low resolution and potential copyright issues) is they are not made up of the correct colours.Physical printing uses 4 different inks to achieve a photographic image – cyan, magenta, yellow and black. These are abbreviated to CMYK.A web image however uses red, green and blue (RGB) colours to correctly display on a screen.As such, an RGB image, if not correctly converted, will look “washed out” and often have very odd colours – certainly looking nothing like how it did on your screen.Using CMYK instead of RGB applies to not only images but your entire packaging artwork file. Most art-working software will allow you to switch between the two, so if you want your colours to print correctly, remember to make sure the colour settings are correct. 05: Small Fonts.Including fonts which are too allWith consumer packaging printed using litho lamination (with a high quality paper laminated onto corrugated material), this is not an issue.But due to the nature of the paper substrate that makes up the outer walls of typical corrugated material being quite porous and rough, there will be a very all amount of ink that bleeds outside of the intended print area.With the majority of graphics and design elements this will not be noticeable. But on something as detailed as all text, it can make the text ineligible (this can be worsened further by using typefaces with a very thin “weight”.As such, it is advisable to not use text aller than 10pt if printing onto typical kraft or test corrugated material. 06: Font Outlines.You can’t meet peaks in demand.Another issue with fonts is having them accidentally substituted before going to print.Imagine for example that your company’s branding uses a fairly rare and unique font. You may possibly have had to purchase a license for using it. And whilst you or whoever is producing your artwork has it installed on their Mac or PC, the majority of other people won’t.And therein lies the problem.If the font has not been embedded in the document (or supplied with the file), when your packaging supplier opens the file the software will look for it. If / when it can’t find it, it will use substitute font instead.Not only will this change the appearance dramatically, it can also mean words becoming truncated or disappearing completely.Whilst most packaging suppliers would highlight this to you, if it slips through your packaging will look nothing like you expected.The simplest solution is to convert all of your text to outlines. These then become vector graphics which are not reliant on finding the font to look correct.Pro tip: make sure you save a copy of your artwork with the text saved as text, and a separate copy with the text outlined to supply to your packaging manufacturer / printer. Once text has been outlined it cannot be edited (i.e. correcting a typo), meaning you may have to re-set the artwork to change the required copy.07: Bleeds.Not including bleedsRegistration is the term given to markings included on packaging artwork and the technology which allows different colours to be printed in the correct part of your document or packaging. Effectively, it aligns the item being printed to the print heads placing the inks.And whilst the latest printing equipment can allow for very tight tolerances on registration, it has to be assumed there is the potential for some movement during printing (which is where trapping and overprinting come in).This is why, when using graphics or even blocks of solid colour that run over a cut line, that you include what are known as bleeds.This basically means you adding between 3mm and 10mm (depending on the print method, equipment etc.) outside of the intended print area (and outside of the cutting area). This means if there is some movement during the printing or cutting, it does not leave unsightly, non printed areas at the edges.Please note that bleeds only apply to blocks of colour / graphics that run outside of the cutter guide, and not between joined panels within the cutter guide itself. 08: White Space.Ignoring safe margins / white spaceSimilarly to needing to include bleeds to allow for movement and poor registration of your packaging artwork during printing and cutting processes, it is also important to adhere to “safe areas” when creating your artwork.A good rule of thumb is to typically leave 15 – 20mm of space around cut and crease lines on your cutter guide. This should prevent graphics or logos being cut-off or stretching across different panels unintentionally.There is another benefit to this however, and this is forcing you to consider the inclusion of “white space”.Including this on your design not only makes the information more legible, but also makes the design look more professional and visually appealing too. 09: Black Inks.Using a heavy (or weak) blackPrinting onto kraft (i.e. brown) cardboard can obviously affect the appearance of your chosen colours.But what many people do not know is that how you set up and “black” print within your artwork can have significant effect on the outcome too.For example, many people will use only black ink for their black graphics, text etc. This would be represented in CMYK and C = 0, M = 0, Y = 0, K = 100 (with the numbers being the percentage of that colour ink being used). What this produces is a very “weak” black that can look washed out and even grey.Other people producing artwork will do the opposite, and use C = 100, M = 100, Y = 100, K = 100. Whilst this produces a very strong black, the amount of ink being put down means that there is the potential for udging, earing. It can also lead to longer drying times.For best results, use C = 30, M = 30, Y = 30, K = 100. 10: Proofing Artwork.Not proof reading before sending to printThe final, perhaps biggest and yet most easily avoidable mistake when creating artwork files for your packaging is to not proof read before sending off!Typos, spelling and grammatical errors can make your business look slap-dash and unprofessional, potentially harming brand perception and ongoing sales.Besides proof reading yourself, it is also important to get at least one other colleague to check through and signoff on the copy. After writing or looking a document for a long period when creating the artwork, you can become blind the errors (your brain simply sees what it thinks should be there).Avoidable mistakes here can lead to costly wasted packaging and the need to purchase new printing plates.In Summary.Avoiding packaging artwork mistakesMaking a mistake on your packaging artwork can lead to significant costs for your business, both in terms of re-buying printing plates, wasted unusable boxes, and brand reputation.But get it right, and it can help raise awareness of your business. It can also convey important info and even help to boost sales.Just make sure you avoid the pitfalls of these 10 packaging artwork mistakes, or download the free step by step guide on how to create your artwork file by clicking here.


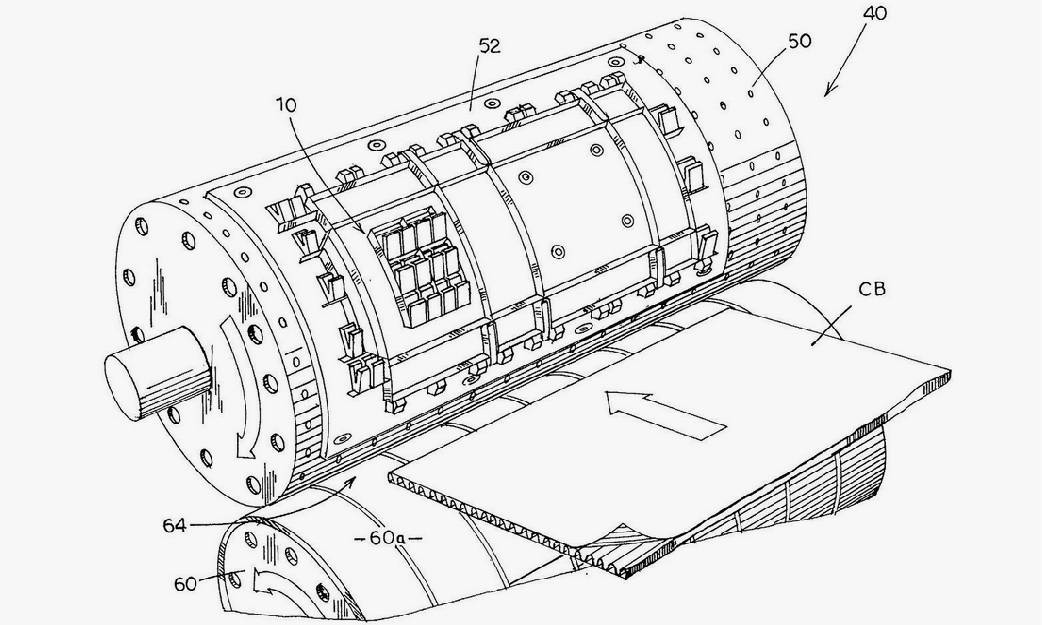
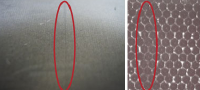
 How to minimizing anilox scoring

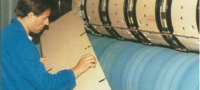
 How to use a printing slotting machine in the process of paper delivery


 How to avoid flat crush in the process of die-cutting
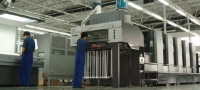
 10 Ways for Dust Removal !
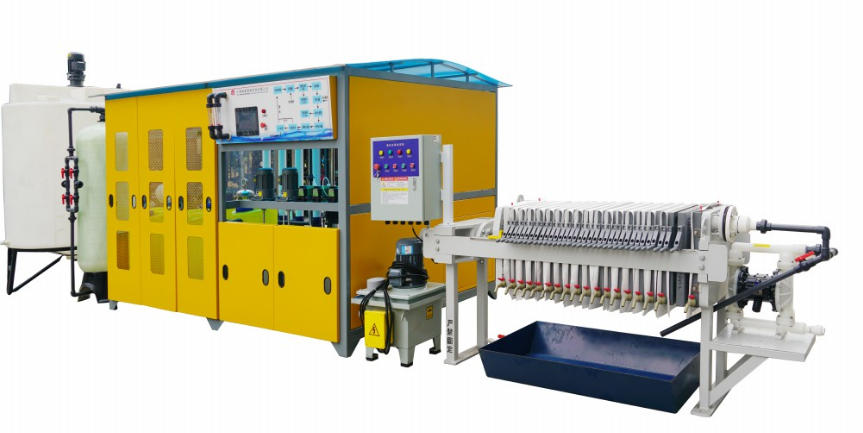
 Printing efficiency improved by 12% by using intelligent ink cleaning system
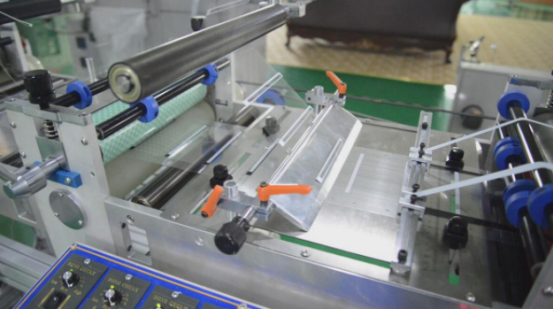


 Adaptability analysis on carton printing
 How to improve warping problem during the normal production?
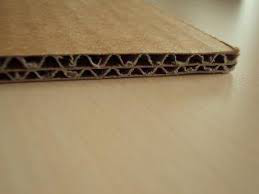

 The effect of loose plate lock and its solution

 How to avoid printing problems in debugging?